

Top Similar Products

Teenitor Fine Glitter Glitter for Nails Art Extra Fine Glitter Festival Glitter 5g*12
Regular Price: US$29.99
Special Price US$24.99
Regular Price: US$44.99
Special Price US$34.99
Clearance Room!

All-New Echo Dot (5th Gen, 2022 release) | Smart speaker with Alexa | Charcoal Charcoal Device only
Regular Price: US$104.99
Special Price US$49.99
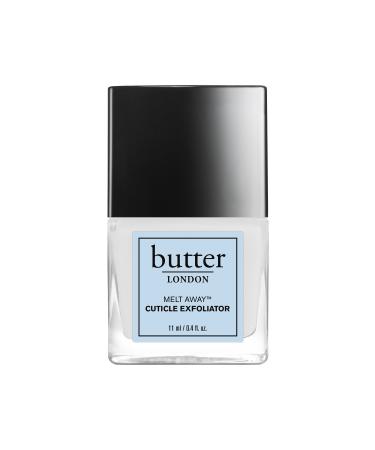
Butter LONDON Melt Away Cuticle Exfoliator
Regular Price: US$55.00
Special Price US$17.99
![Stewart Freeze Dried Dog Treats Made in USA [Single Ingredient Puppy and Dog Training Treats - Grain Free Natural Dog Treats] Resealable Tub to Preserve Freshness](https://www.gosupps.com/media/catalog/product/cache/25/small_image/375x450/9df78eab33525d08d6e5fb8d27136e95/6/1/61gwbbixarl._ac_sl1500_.jpg)
Regular Price: US$30.00
Special Price US$19.99


Regular Price: US$55.00
Special Price US$21.99
Regular Price: US$99.99
Special Price US$34.99

GRAND SELECTION
Think of it and most probably we have it among our grand selection of products!
AMAZING PRICES
Get ready for the amazing and best Supps prices ever!
FIXED RATE DELIVERY
Get your order anywhere on this planet within 5-10 days with a fixed rate of $19.99 (no matter the size of your order)
