

Top Similar Products

Regular Price: US$23.99
Special Price US$19.99

Regular Price: US$53.99
Special Price US$44.99

Regular Price: US$35.99
Special Price US$29.99

Regular Price: US$41.99
Special Price US$34.99
Clearance Room!
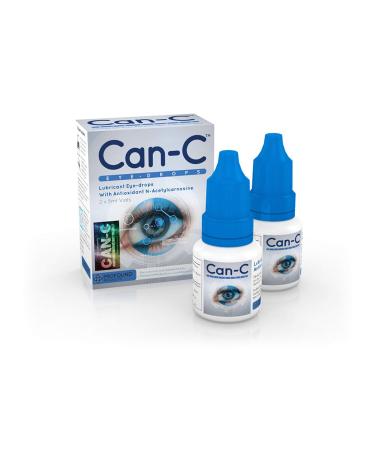
Can-C Eye Drops 5 Milliliter Liquid (2 in 1Pack)
Regular Price: US$105.00
Special Price US$64.99

Stargazer Semi Permanent Hair Dye Azure Blue Azure Blue 70 ml
Regular Price: US$22.99
Special Price US$14.99
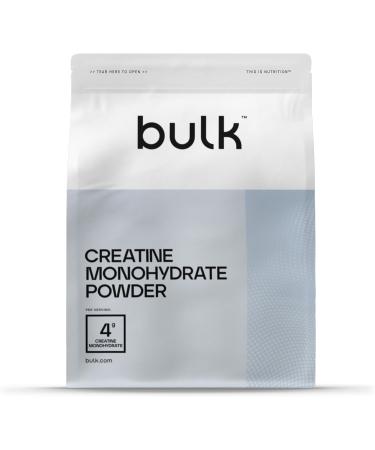
Bulk Creatine Monohydrate Powder Apple and Lime 500 g Packaging May Vary 100 Servings (Pack of 1)
Regular Price: US$88.99
Special Price US$45.23

Regular Price: US$160.99
Special Price US$129.99
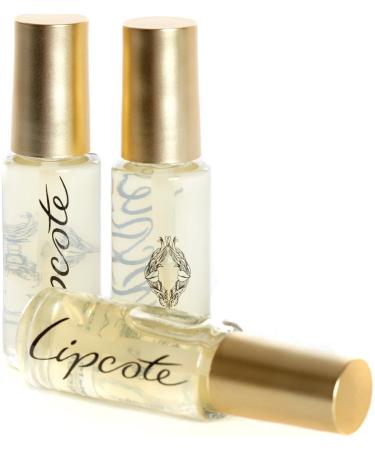
Lipcote Original Lipstick Sealer 7ml - For Longer Lasting Lipstick 1 Pack 7 ml (Pack of 1)
Regular Price: US$22.99
Special Price US$15.07

Regular Price: US$100.99
Special Price US$79.99

Walkerswood Traditional Jamaican Green Seasoning 280g in a Premier Life Store Box
Regular Price: US$40.99
Special Price US$29.99

Regular Price: US$41.99
Special Price US$34.99

GRAND SELECTION
Think of it and most probably we have it among our grand selection of products!
AMAZING PRICES
Get ready for the amazing and best Supps prices ever!
FIXED RATE DELIVERY
Get your order anywhere on this planet within 5-10 days with a fixed rate of $19.99 (no matter the size of your order)
