Let's decorate nails!
STEP 1: APPLY NAIL GLUE
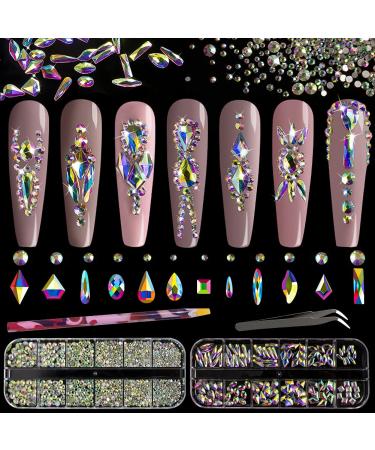
Once you're ready to apply crystal rhinestones, start by applying a layer of nail rhinestone adhesive to the area where rhinestones will be placed. You don't need to apply it to the entire nail. We recommend applying the adhesive one nail at a time
STEP 2: PLACE NAIL RHINESTONES
Using your rhinestone applicator(Our product doesn't have applicator), pick up a flatback stone with the wax end. Place the rhinestone on your nail, and if necessary, use the tip of your applicator to gently correct the rhinestone's positioning
Quick Tip: If you don't have a rhinestone applicator or wax pencil, you can use tweezers to pick up the stones and a toothpick to position them
STEP 3: CURE RHINESTONES
Once the rhinestones for nail are applied, cure the nail under your LED lamp. If you're working from home and don't have a lamp, we recommend using a nail polish top coat to apply the flatback rhinestones (but keep in mind, this won't last as long as the gel adhesive will)
STEP 4: APPLY A TOP COAT AROUND THE CRYSTAL FLATBACK RHINESTONES
If you're worried the rhinestones might fall off, you can apply a clear top coat around them to help hold them in place. Keep in mind that if you brush the top coat over the rhinestones, it will dull the shine
You can also dab a little more glue around the base of the nail art rhinestones for extra strong hold
FINAL TIPS TO KEEP IN MIND
Protect your rhinestones: When you wash dishes (or wash your hair), consider wearing gloves to protect your nail rhinestone from unnecessary water damage. If you take baths or swim often, limit the amount of time your nails spend soaking in the water. This can cause them to pop off sooner





![Stewart Freeze Dried Dog Treats Made in USA [Single Ingredient Puppy and Dog Training Treats - Grain Free Natural Dog Treats] Resealable Tub to Preserve Freshness](https://www.gosupps.com/media/catalog/product/cache/25/small_image/375x450/9df78eab33525d08d6e5fb8d27136e95/6/1/61gwbbixarl._ac_sl1500_.jpg)
